Availability


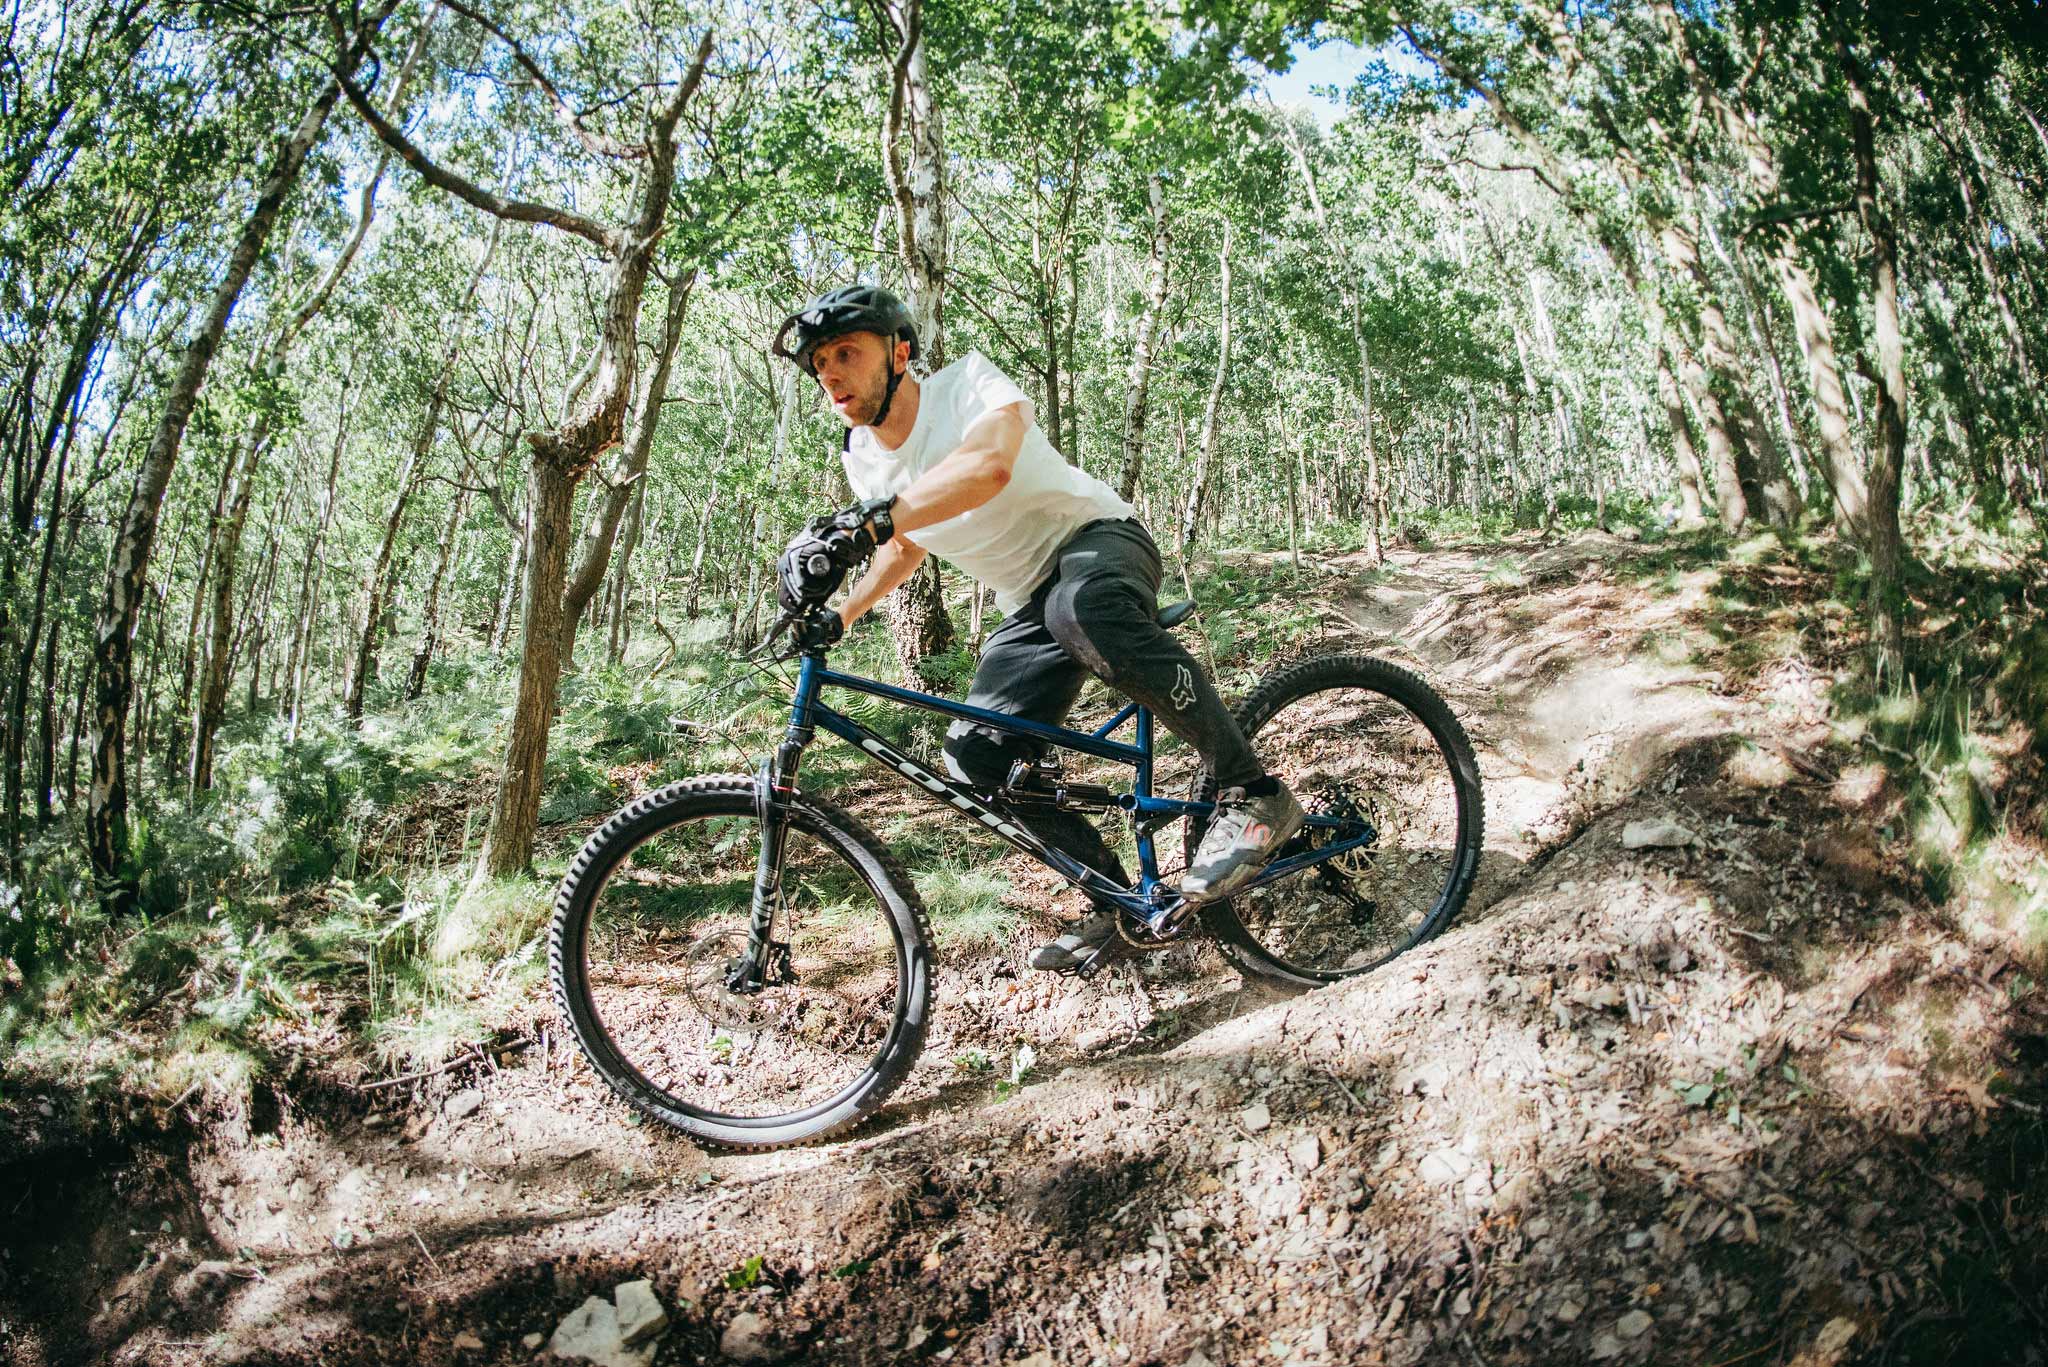
The fastest bike in our fleet. The radical, UK made RocketMAX turns the speed up to 11. It's all about the rockiest descents and the steepest technical trails. It's confident and blisteringly quick.
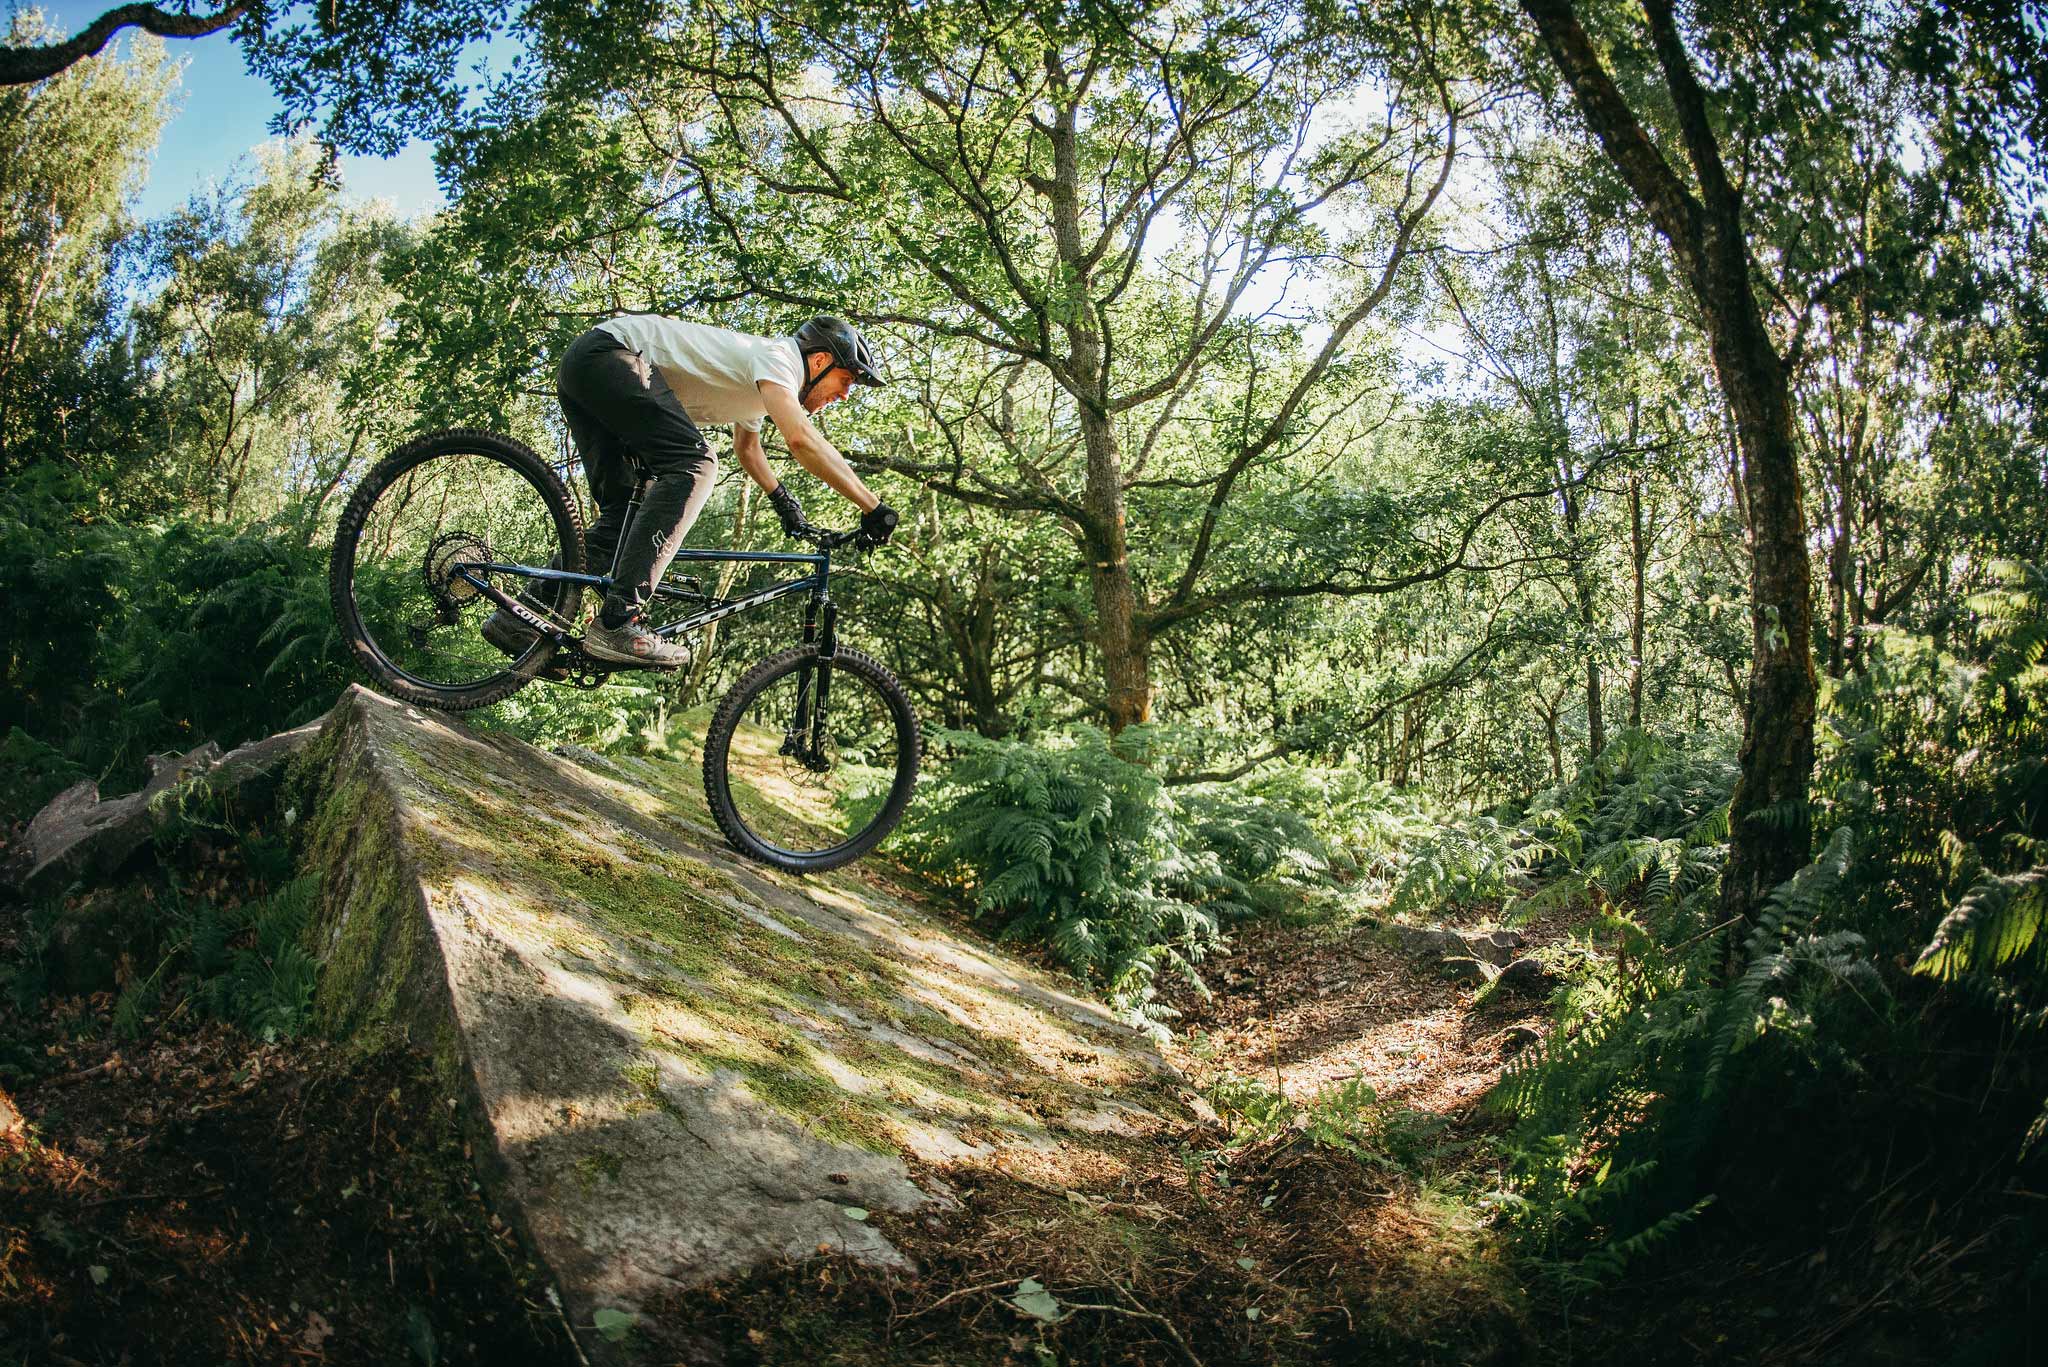
RocketMAX will carry speed through lines you've battled to get through before, and will do so with composure and ease thanks to it's Cotic developed Reynolds 853 steel frame. You like steep and techincal? You can ride down pretty much anything on a RocketMAX, then pedal back up buzzing on how great your ride is. Incredible stability and pinpoint precision from our industry leading Longshot geometry brings you swaggering confidence regardless of the gradient, and will leave a massive grin on your face.
RocketMAX is wild and fast and just so much fun. It's almost like cheating!
What have we changed and improved for the Gen3 version of the RocketMAX?

Are you in the UK and would like to demo a RocketMAX? Contact us via our Demo Page to organise a demo ride with us.
LOVE IT OR YOUR MONEY BACK
Ride any of our products for 30 days and if you're not happy send it back for a full refund.
Your Bike Built For You
We do things differently at Cotic. We assemble every single bike to order, with lots of options to make your Cotic unique to you.
Reviews
Read Enduro Magazine's review of the Gen3 RocketMAX Gold XT bike:
"The Cotic frame is thing of beauty, with a unique ovalised Reynolds 853 steel top tube, intelligent cable routing and many smart design features."
"...we were surprised at just how composed the RocketMAX is on the climbs. We were expecting a barge, but the Cotic displayed a nimbleness that defies its stretched proportions."
"Ultimately the RocketMAX is an awesome bike which shouldn't be defined by it's 'niche' frame material, but by its performance. It happily goes toe-to-toe with formidable bikes like the YT Capra, Nukeproof Mega and Specialized Enduro."
Click here to read the full review
Read BikeRadar's 2021 Enduro Bike Of The Year 4/5 review of the RocketMAX Gen3 Silver HUNT Rockshox bike:
"Composure and comfort when really pounding through the ugliest of terrain have definitely been elevated, but its still a more engaging, feedback-rich ride compared to some of its counterparts with similar amounts of travel."
"Uphill, I found the Cotic really easy going. This is thanks to a combination of that relatively steep seat angle, roomy cockpit and stable suspension that remains calm and almost bob-free when seated."
And - with not a small amount of Schadenfraude for the 'steel is heavy' brigade - ".....the overall weight of the RocketMAX at just 15.12kg....was actually the lightest of all the bikes in the Enduro Bike of the Year test."

The new RocketMAX Gen3 is a solid evolution of our standard shredding Gen2 RocketMAX, the first RocketMAX to feature Longshot geometry. It's the longest travel 29er we have ever made, now with 160mm rear to balance out the 160mm front. We have tweaked the progression rate, reduced the leverage ratio, and broadened the window of performance. The frame design is dedicated to big can, metric sized air shocks for smoother feel and more capable performance. For tunability they can't be beat.
The extra travel and new kinematics bring an even more composed, plush feel to the suspension, making it feel more planted when you're flying down those rock strewn sections. The confidence inspiring support and shape-maintaining working edge is still right there, so it still has your back in the steep and deep.
The RocketMAX Gen3 accounts for its extra travel to retain the incredible dynamic geometry of the Gen2 bike. This means the handling is still that fantastic combination of precision, stability and responsiveness. It was so far ahead of the game that we haven't found a way to improve it! The seat angle is 1 degree steeper for more poise on steep climbs and to work hand-in-hand with the new frame rate.
The tubeset is subtly evolved with our new HD down tube which is tougher and stiffer than the original version, but no heavier. Developed by Cotic with Reynolds for our exclusive use. All 853 frames are NOT created equal
The main changes for the Gen3 bike specs are the addition of the Rock Shox Lyric Ultimate as a fork option, and we now have a selection of Shimano XT and SRAM Guide RSC G2 4 Pot brakes for those wanting a bump in stopping power, but have particular lever feel preferences. Jump to the bike specs here.


| Frame size | Rider Height in centimetres | Rider Height in feet and inches |
|---|---|---|
| XL | 186cm - 195cm | 6ft 0in - 6ft 5in |
| Large | 178cm - 188cm | 5ft 10in - 6ft 2in |
| Medium | 169cm - 180cm | 5ft 7in - 5ft 11in |
| Small | 160cm - 170cm | 5ft 3in - 5ft 8in |
The chart is a guide to frame size. Longshot Geometry means that the frames are low and long, with plenty of standover room. We recommend going for the size suggested for your height on the chart, and getting all the benefits of running a super short and responsive 30-35mm stem. It's a game changer. Make sure you consider your leg length as well. If you upsize you might not be able to fit a longer dropper post due to the collar hitting the seat tube top or the dropper post bottoming out on the seat tube droplink pivot.
If you'd like to learn more about our mould breaking Longshot Geometry, Click Here
We don't develop our bikes around a specific fork offset, we find that it's simply a preference down to the individual rider. If you'd like to learn more about this, Click Here
If you are unsure about that or anything else, drop us a line at size@cotic.co.uk and we'll be happy to discuss set up based on what you're riding at the moment and what seatpost you are planning to use.
160mm travel forks
| Frame Size | Small | Medium | Large | XL |
|---|---|---|---|---|
| Seat Tube (centre-top) | 390mm | 425mm | 460mm | 495mm |
| Top Tube Length (Effective) | 596mm | 622mm | 648mm | 676mm |
| Head Angle | 63.5° | 63.5° | 63.5° | 63.5° | Actual Seat Angle (at 720mm BB-saddle height) | 75.8° | 75.8° | 75.8° | 75.8° |
| Actual Seat Angle (at 815mm BB-saddle height) | 75.5° | 75.5° | 75.5° | 75.5° |
| Chainstay Length | 448mm | 448mm | 448mm | 448mm |
| BB Drop | 27mm | 27mm | 27mm | 27mm |
| Head Tube Length | 100mm | 110mm | 120mm | 130mm |
| Reach | 443mm | 467mm | 490mm | 515mm |
| Stack | 620mm | 629mm | 638mm | 647mm |
| Wheelbase | 1234mm | 1262mm | 1290mm | 1319mm |
| Usual Height Range | 160cm - 170cm | 169cm - 180cm | 178cm - 188cm | 186cm - 195cm |
| Stem Length | 25-45mm | 25-45mm | 25-45mm | 25-45mm |
| Frame Wheel Travel | 160mm | 160mm | 160mm | 160mm |
| Wheel Size | 29" | 29" | 29" | 29" |
| Max Rear Tyre Size | 29 x 2.5" | 29 x 2.5" | 29 x 2.5" | 29 x 2.5" |
| Maximum Seatpost Insertion (including actuator mechanism) | 164mm | 199mm | 235mm | 270mm |
| All measurements are static based on 160mm travel fork/571mm static length. Seatpost Maximum insertion is guidance based on leaving 25mm clear below the actuator for any hose or cable to route through our frames. Your post may need less, or more, or if you use an externally routed dropper you won't need this margin at all. | ||||
160mm travel forks - 27.5" rear wheel
| Frame Size | Small | Medium | Large | XL |
|---|---|---|---|---|
| Seat Tube (centre-top) | 390mm | 425mm | 460mm | 495mm |
| Top Tube Length (Effective) | 598mm | 624mm | 650mm | 678mm |
| Head Angle | 63.8° | 63.8° | 63.8° | 63.8° | Actual Seat Angle (at 720mm BB-saddle height) | 75.4° | 75.4° | 75.4° | 75.4° |
| Actual Seat Angle (at 815mm BB-saddle height) | 75.1° | 75.1° | 75.1° | 75.1° |
| Chainstay Length | 448mm | 448mm | 448mm | 448mm |
| BB Drop | 33mm | 33mm | 33mm | 33mm |
| Head Tube Length | 100mm | 110mm | 120mm | 130mm |
| Reach | 439mm | 463mm | 486mm | 511mm |
| Stack | 625mm | 634mm | 643mm | 652mm |
| Wheelbase | 1224mm | 1252mm | 1280mm | 1309mm |
| Usual Height Range | 160cm - 170cm | 169cm - 180cm | 178cm - 188cm | 186cm - 195cm |
| Stem Length | 25-45mm | 25-45mm | 25-45mm | 25-45mm |
| Frame Wheel Travel | 160mm | 160mm | 160mm | 160mm |
| Wheel Size | 29"F/27.5"R | 29"F/27.5"R | 29"F/27.5"R | 29"F/27.5"R |
| Max Rear Tyre Size | 27.5 x 2.8" | 27.5 x 2.8" | 27.5 x 2.8" | 27.5 x 2.8" |
| Maximum Seatpost Insertion (including actuator mechanism) | 164mm | 199mm | 235mm | 270mm |
| All measurements are static based on 160mm travel fork (571mm static length) and having a Works Components 1 deg angleset installed to steepen the head angle. Seatpost Maximum insertion is guidance based on leaving 25mm clear below the actuator for any hose or cable to route through our frames. Your post may need less, or more, or if you use an externally routed dropper you won't need this margin at all. | ||||

Radical Longshot geometry keeps the bike stable through the rough stuff, planted in the corners and pinpoint accurate in the steep tech. Couple a super short 35mm stem to the optimised head angle and the bike really pushes you on, looking for every stump to boost off, rock to gap and berm to rail, keeping you connected to the trail while maintaining incredible poise and composure.
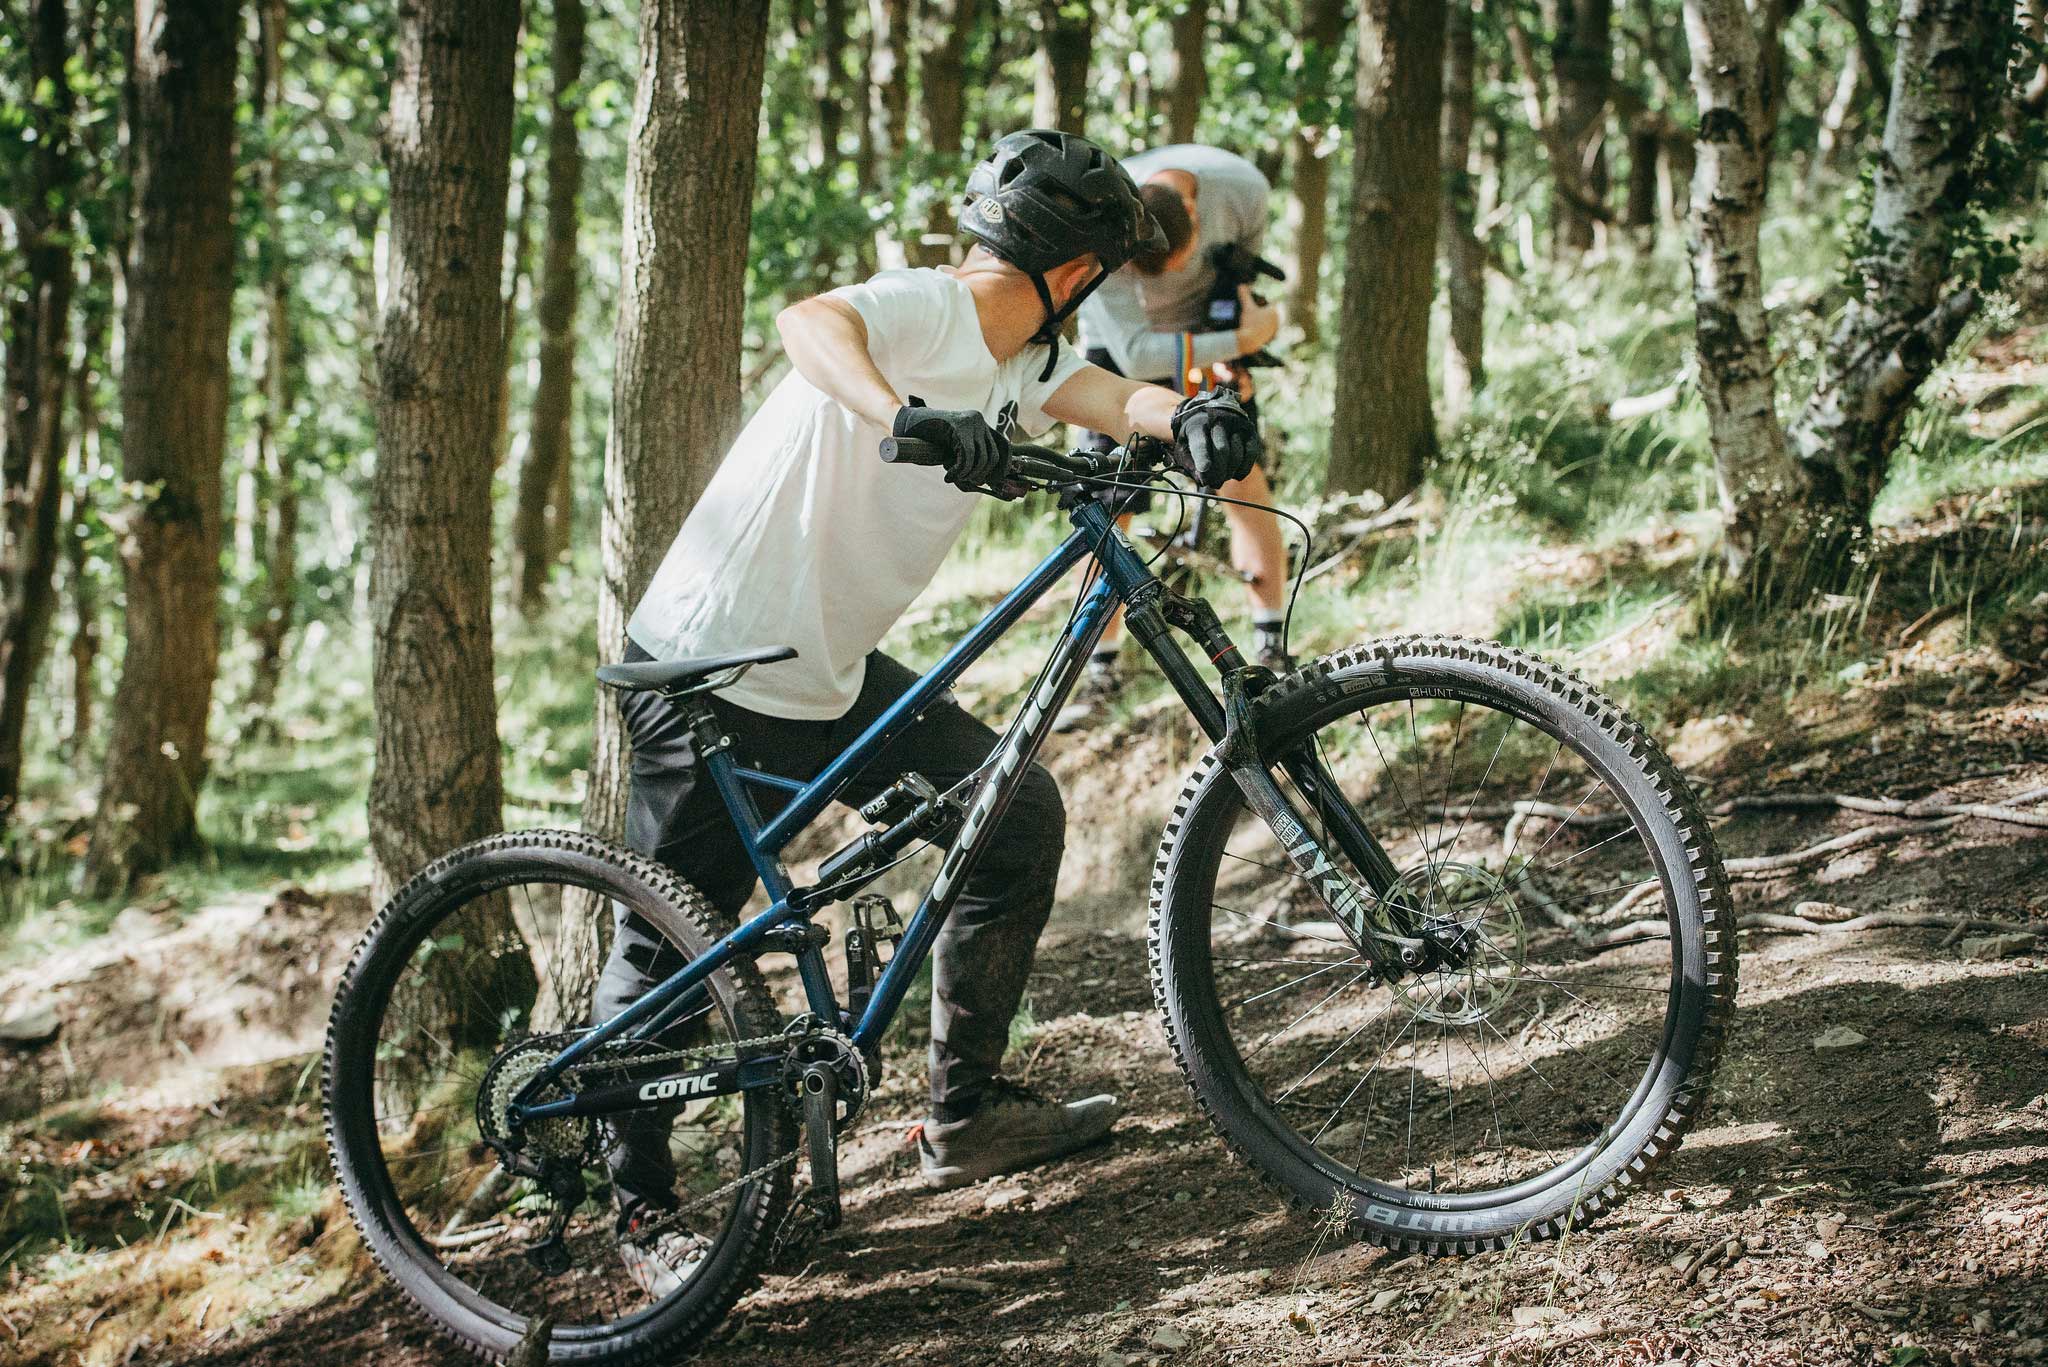
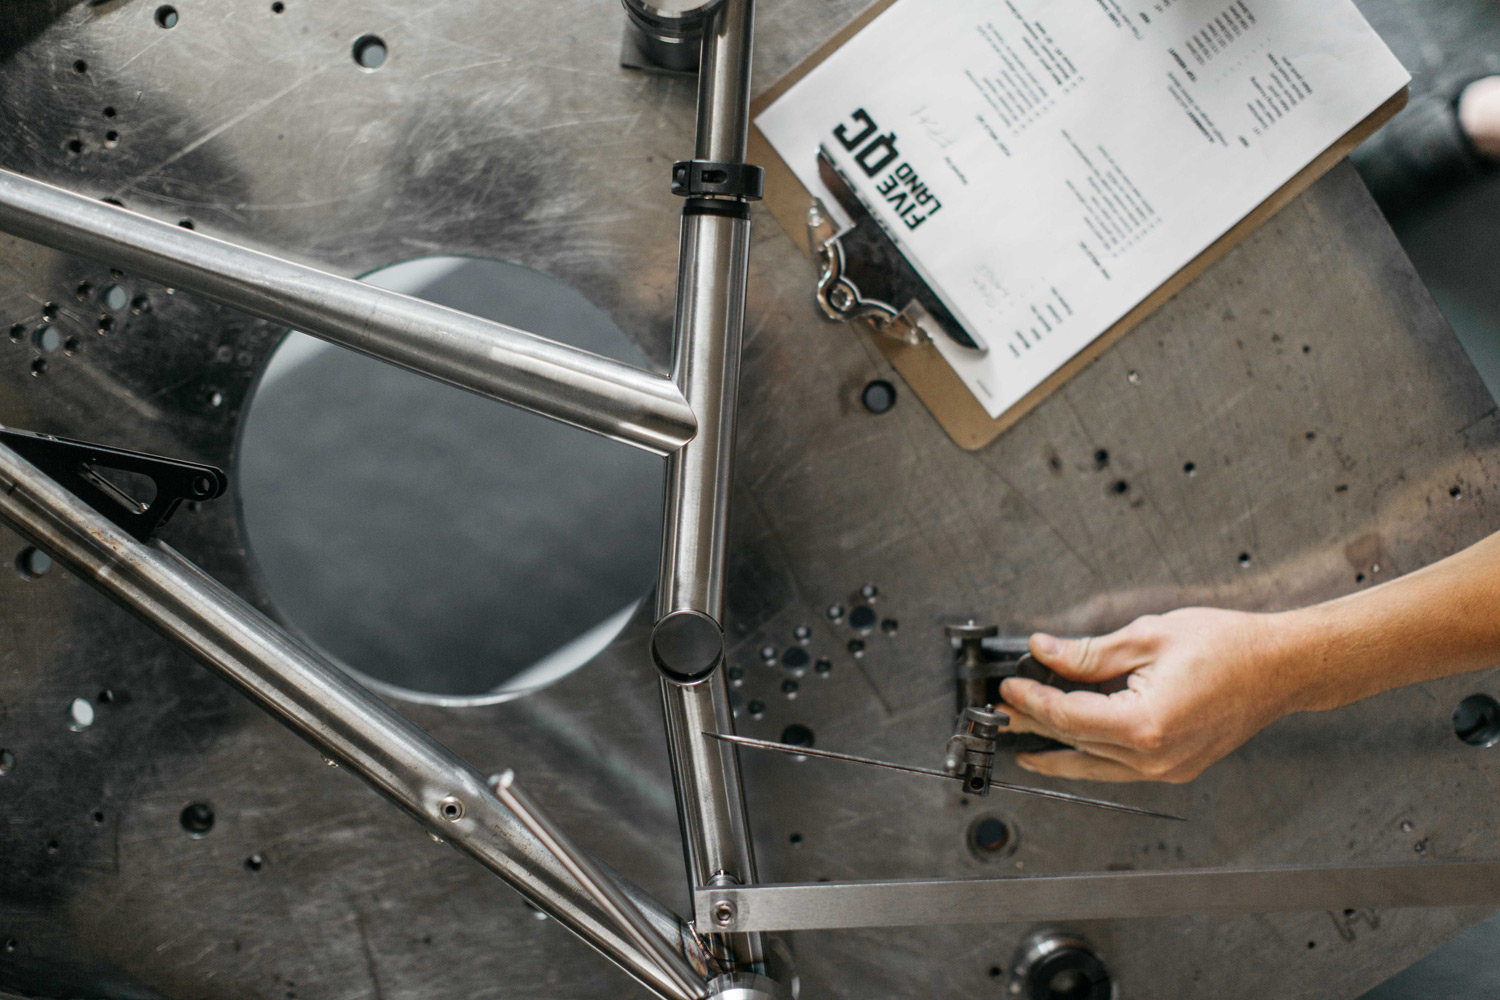
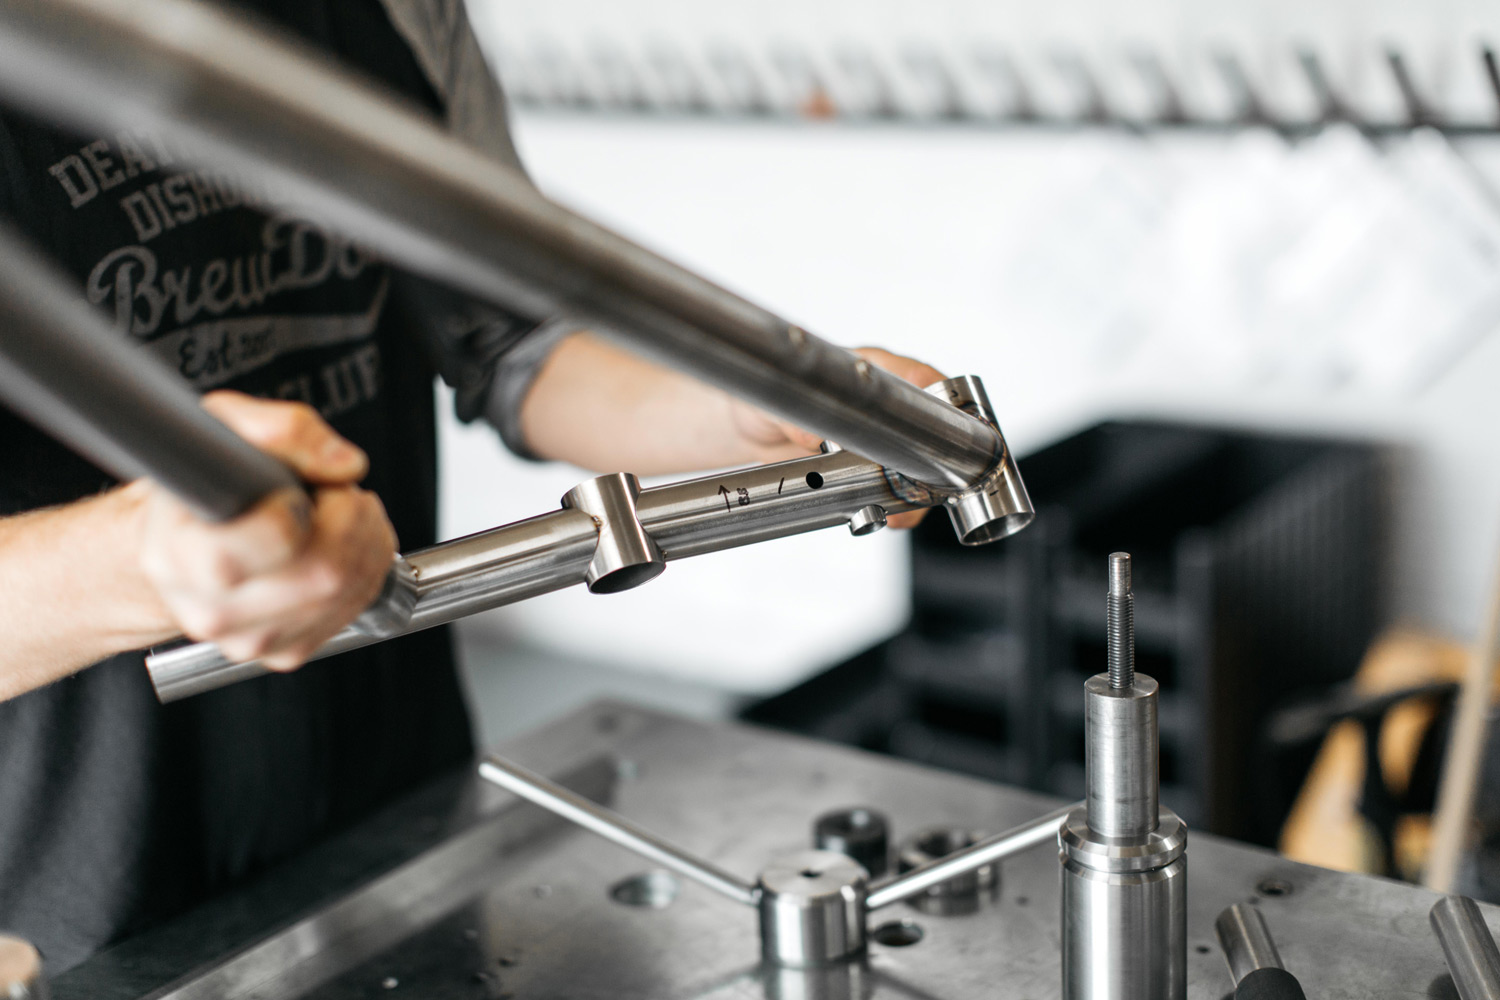
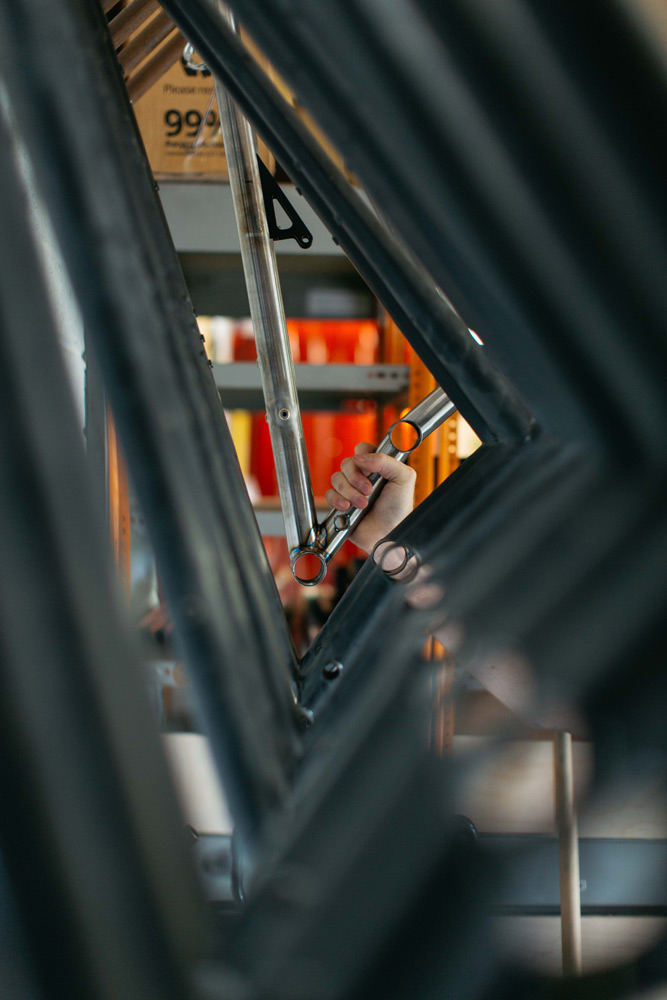
Reynolds 853 builds a light, lively and fantastically robust front end, and includes our custom ride tuned Ovalform top tube, and new for Gen3 our exclusive HD down tube, which helps to deliver that famous ride feel. The frames' steel construction is compliant and naturally ground moulding, extracting grip and feedback from the trail where you thought there was none.
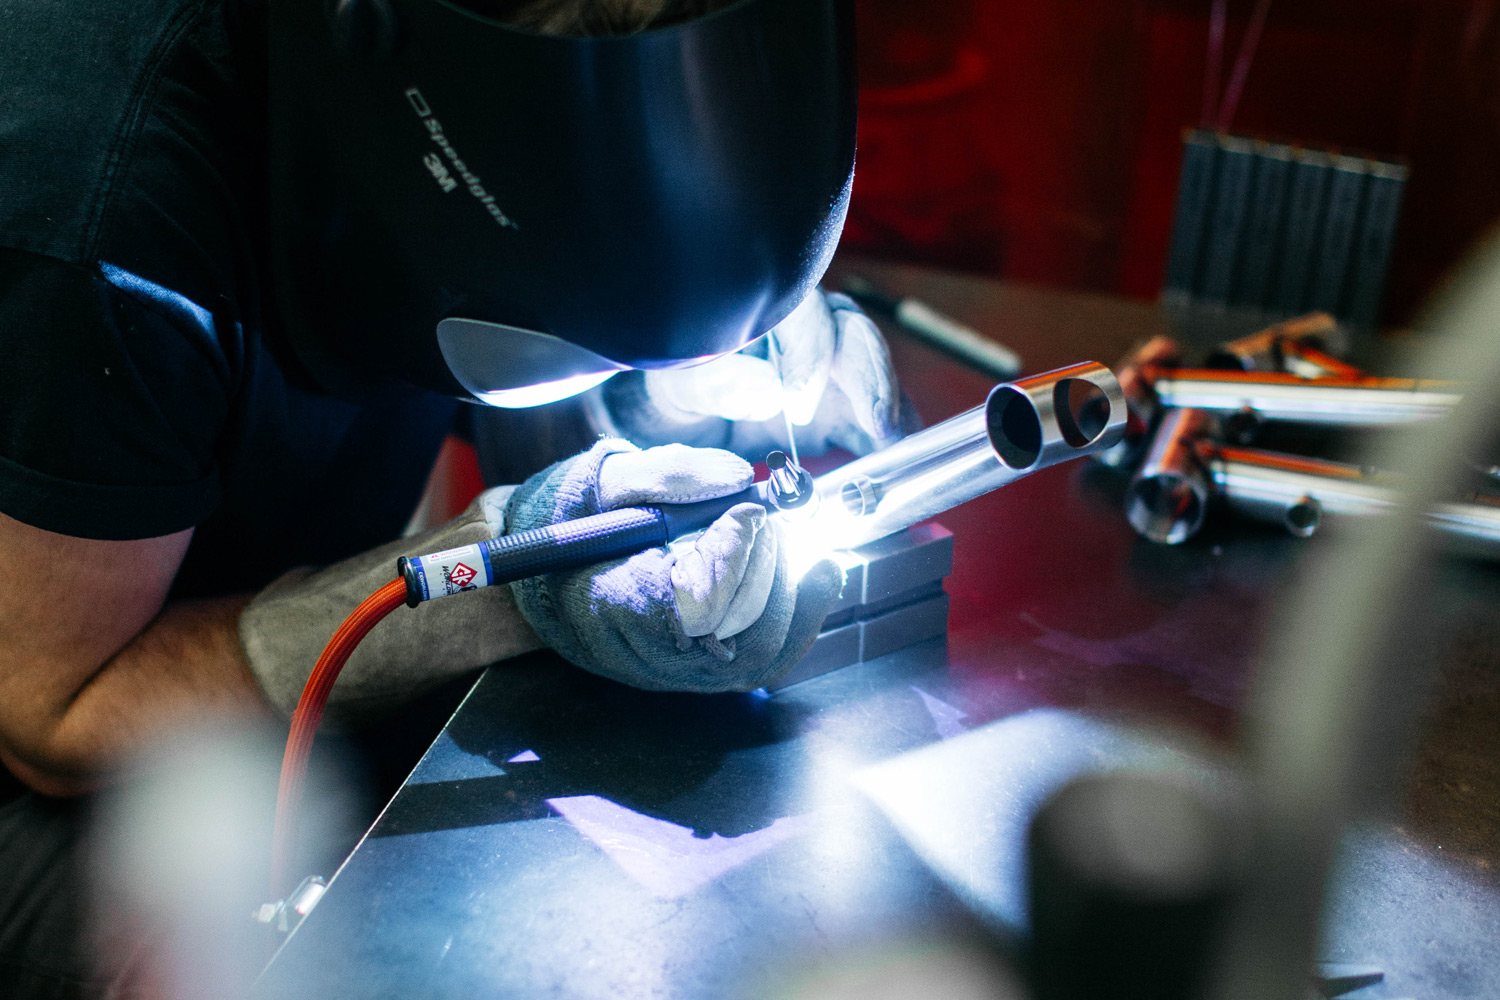
If you want to learn more about the RocketMAX UK Made and finished construction, click here to read the Singletrack feature all about it...

Cotic MAX frames use 29 inch wheels. MAXimum speed, MAXimum rollover.
29inch wheels roll easy and give a lot of stability, confidence and speed in rougher terrain, at the expense of being a little heavier and less playful than regular 27.5" wheels.
Why Big Wheels?The way the MAX frames are packaged around the larger wheels (longer rear end, longer wheelbase, taller front end) can suit the proportions of a taller rider better, this will minimise any potential drawbacks, as a taller rider tends to have long enough arms and legs to move the bike around easily. Whatever height you are, if you're after more speed and stability from a bike, then the big wheels are the way to go.
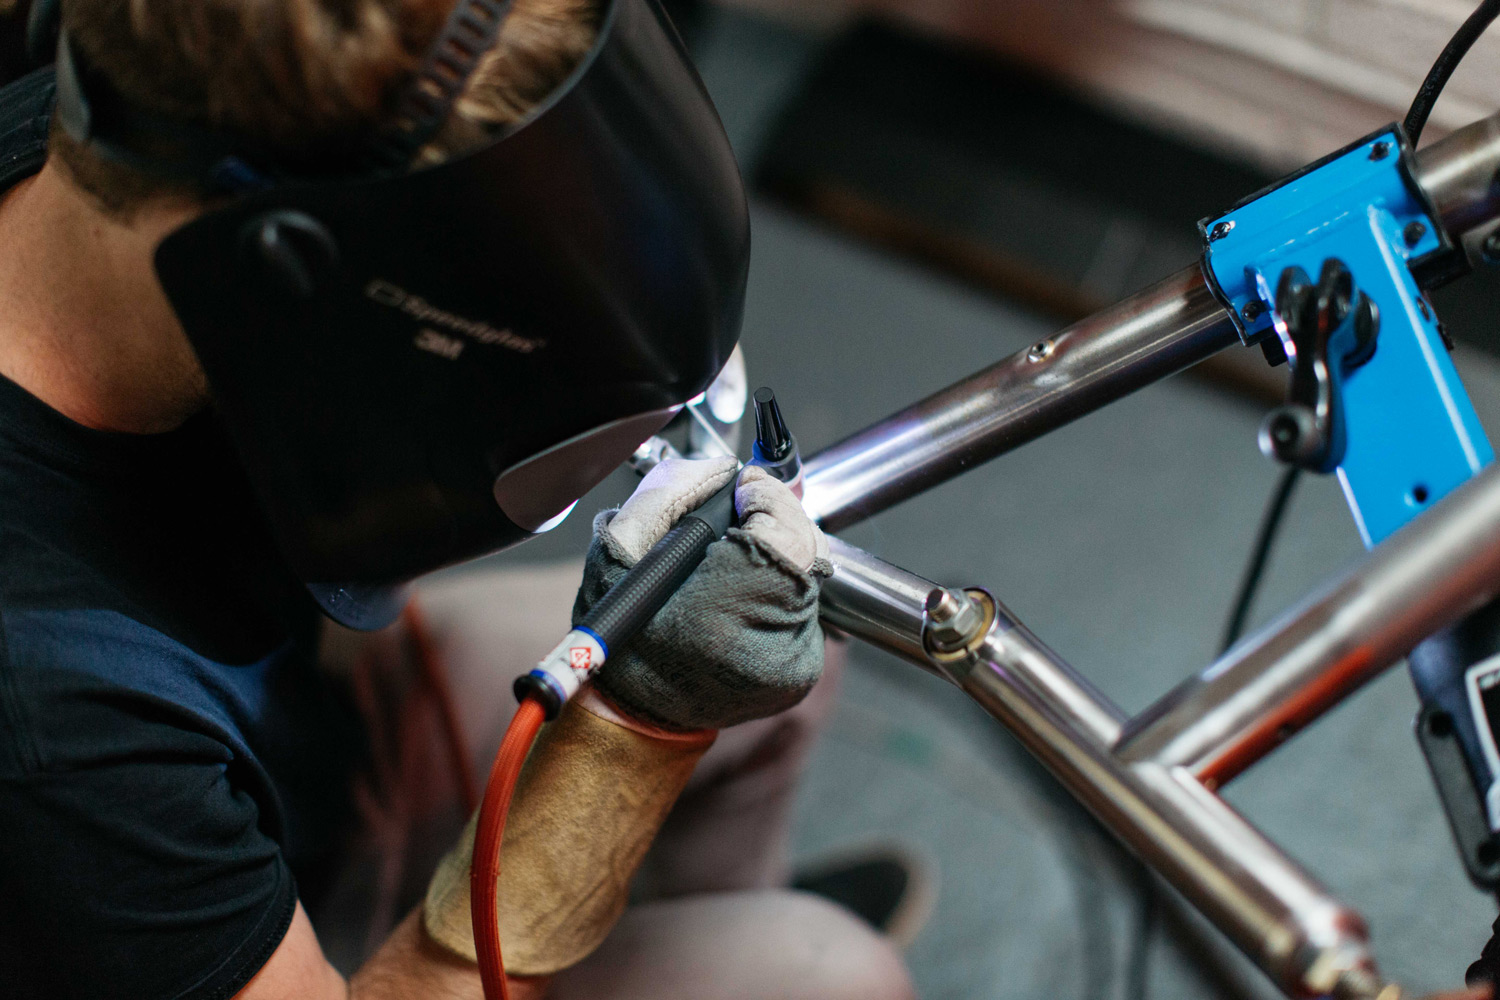
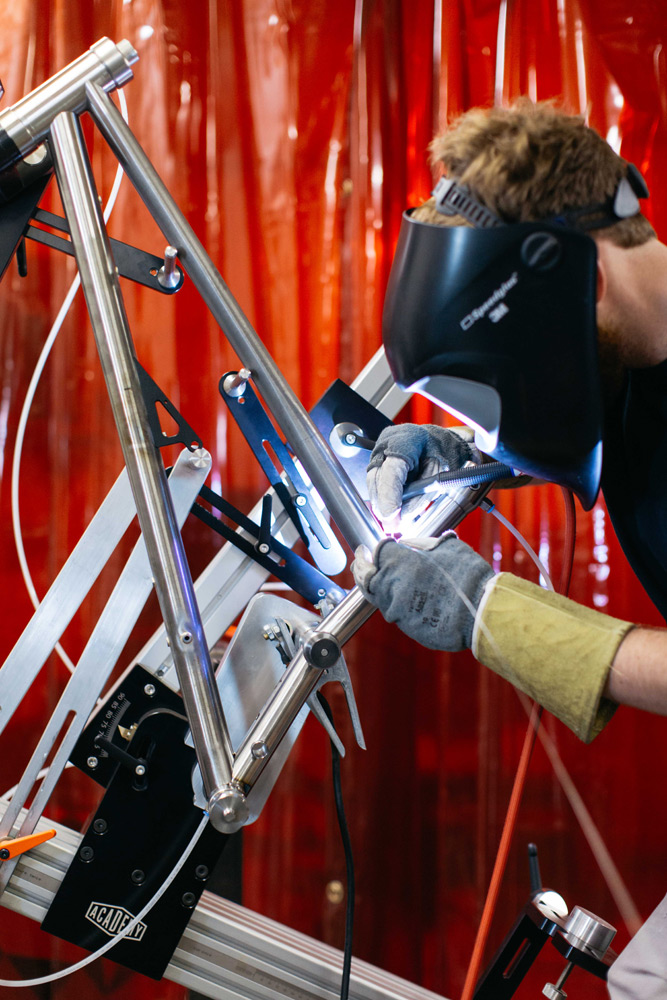
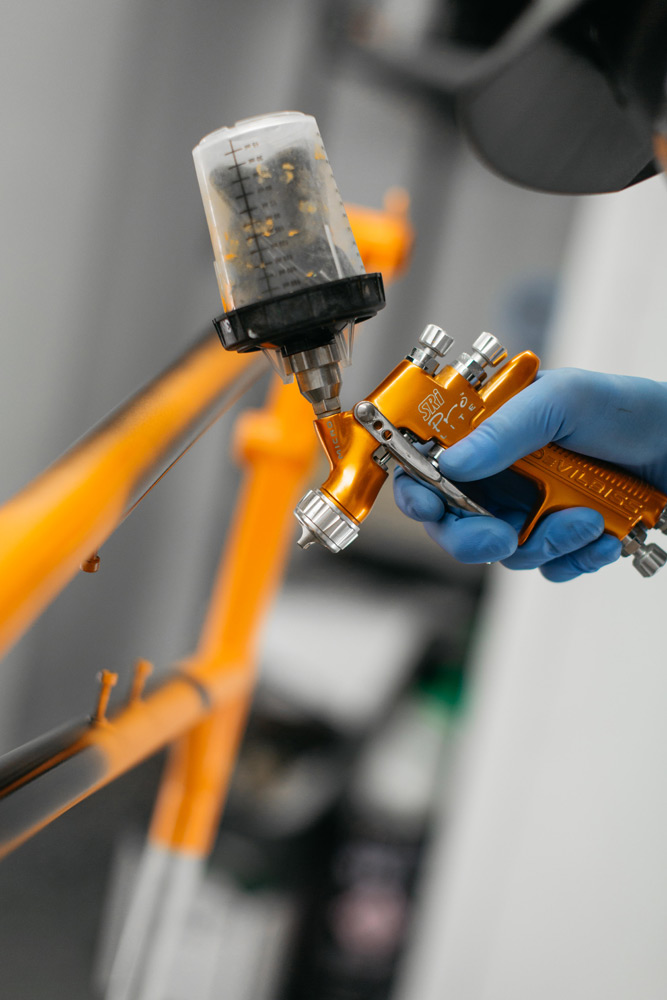
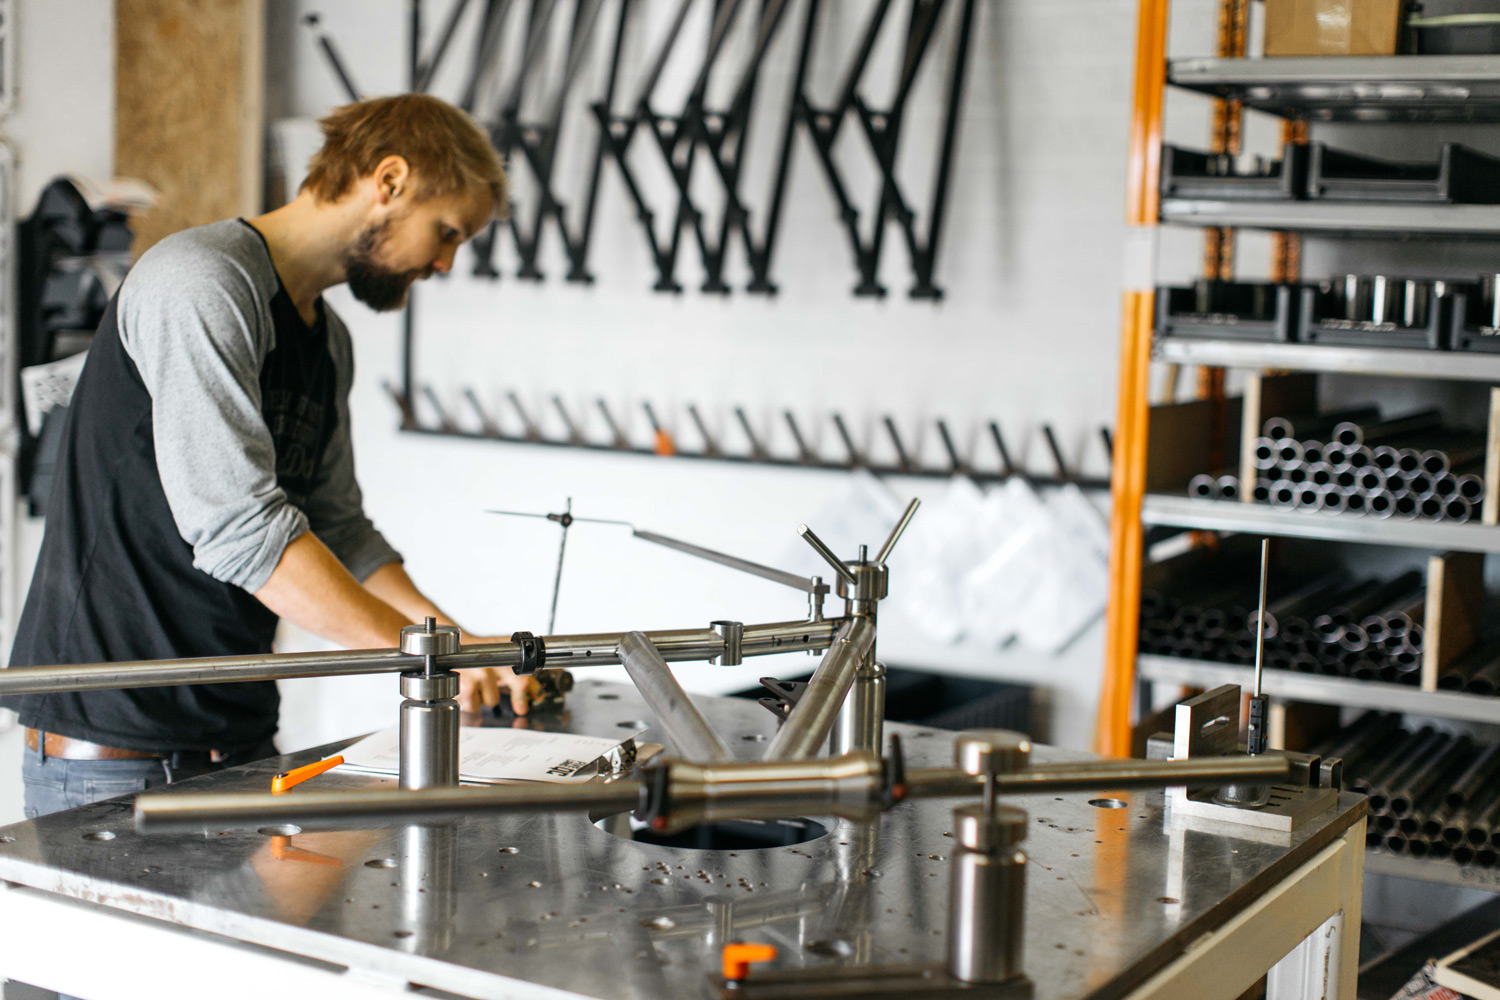
All Cotic bikes are assembled in the UK from and frame up. We have set specifications, but these are just the start. Want the Silver spec bike with tubeless tyres? Easy! Want a HELM instead of Lyric on your RocketMAX? It's there too. Full colour matched Hope parts, and add the matching brakes too? It's a click away, and everything else in between. If it's not a choice on the order form, just ask.
When you contact us you are talking to the people who design the frames and will be building your bike. We check it and build and pack it in our award winning bike boxes with the same care we would our own bike, because we know how important it is. We build your bike, for you.
If you like the idea of an enduro bike from Cotic, but with the lighter, livelier ride of the smaller 27.5" wheels, you need our Rocket.
Like your wheels big, but more of an all rounder? A little more responsive and shorter travel? You need the FlareMAX.
Maybe you're more a hardtail rider, but like the speed and security of the RocketMAX with 29er or 275 Plus wheels? Have a look at the SolarisMAX.
Want to get right into the details about why our bikes are built the way they are? Geek away my friend!
- Read our Founder and Bike Designer Cy Turners' thoughts on why steel is a high performance choice for our full suspension bikes here.....
- Read all about the development and features of the Cotic droplink suspension here.....
- Listen to the Downtime Podcast where Cy tells the story of the development of Longshot geometry.....
- Radical Cotic Longshot geometry is specifically designed for super short 35mm stems, giving incredible steering responsiveness combined with hugely confidence inspiring capability at speed.
- Reynolds 853 Ovalform and Cotic Exclusive HD down tubed front end brings precision, beautiful ride feel, durability and strength
- 44mm standard head tube designed with external bottom cup for taper steerer compatiblity and zero stack top cup for minimal stack height
- Custom Cotic designed 35mm Reynolds 853 seat tube for super stiff support for the main suspension pivots
- 31.6mm seatpost size is dropper seatpost compatible. Internal 'Stealth' dropper post remote routing
- Integrated 3D printed Cotic chain guide and a regular threaded bottom bracket bring drivetrain security and reliability
- Rear mech cable routed internally through the steel seatstay for clean lines and low noise
- Custom forged swingarm heads for stiffness and tyre clearance
- 6066-T6 aluminium swingarm with Syntace X-12 BOOST148 x 12 rear axle for maximum wheel stiffness on larger wheels.
- 15mm pivots for BB and droplink thru axle style linkage clamp keep the frame solid front to rear
- 1 bottle mount
- Clearance for big tyres - 29 x 2.5"
- Optimised around 160mm forks for great balance of speed and precision.
- 160mm of Cotic droplink suspension brings traction, fun and interaction via a strong progression rate
- Sizes - Small (390mm), Medium (425mm), Large (460mm) or XL (495mm)


The suspension on your Cotic droplink bike is designed to work at its best when the suspension sags with the rider on board the bike. 'Sag' is the amount the shock compresses with a rider on board. The suspension works at its best when set with between 25% and 30% of the available travel as sag, with our preferred starting point being 30%.
Your RocketMAX Gen3 has a 60mm (Fox) or 62.5mm (Cane Creek and Rock Shox) stroke shock, so that means:
- 16-19mm sag on the shock
- 32-40mm sag on a 160mm fork
As a starting point we suggest going for the middle of those options, so 18mm sag rear, and 36mm sag front.
How To Set Your Shock Sag
Using a shock pump, put 170psi in the rear shock. Leave your forks as they are (if you've already set them up) or put the recommended pressure for your weight in them according to the fork manufacturer's manual.
Check the shock and turn off any lockout or Climb Switch. This allows the shock to compress unhindered and ensures a more accurate sag measurement.
Put your riding kit on. Or at least a fully loaded backpack if you usually ride with one. Make particular note of the amount of water in your pack or your bottles. It's probably the heaviest thing you strap to your bike after yourself, and it makes a difference to the suspension setup.
Set the saddle to your correct full pedalling height.
Mount the bike and go for a quick ride in a suitably quiet area. Whilst riding, bounce on the saddle a couple of times to get the rear shock compressing as much as you can.
Pull in somewhere safe, stop, get off the bike and slide the o-ring on the shock down against the seal. Now get back on the bike and with saddle at full height sit down and let your legs dangle off the pedals and make sure the o-ring on the shock is still up against the seal. Now, gently get off the bike without moving the shock (dropping the saddle and using a kerb or something as step helps).
Once off the bike, measure the distance between the o-ring and the shock body. Adjust the air pressure in the shock accordingly to get the desired amount of sag.
How To Set Your Fork Sag
Once youve set the rear sag, check the front fork sag. If your bike is brand new, put 60psi in the fork to start with and dial all the compression damping adjuster to minimum. For forks, we recommend running with 20-25% sag.
In a quiet area with minimal traffic, drop the saddle and ride around slowly, giving the forks a bounce once or twice to free them up. Whilst rolling along, sit down and being careful of the spinning wheel - slide the o-ring on the fork leg down to the seal. Now stand up slowly into a balance position on the bike as if you're about to do a downhill section of trail. Now, without moving the fork any more, move yourself rearward and sit down, and slowly roll to a halt. If you have to use the brake, use it very gently and carefully so that you don't dive the fork under braking and mess up your sag measurement. Gently get off the bike and measure the distance from the o-ring to the fork seal. That is your sag. For a 160mm fork, you should be aiming for around 32-40mm sag (20-25%).
If the fork sag requires alteration, alter it, then check the rear sag again. Keep doing this procedure until both front and rear sag is set as desired by the rider, within the manufacturer recommendations for the frame and fork.
Weight Distribution
Its worth noting that as the weight distribution of all bikes is different, being dependent on saddle position, stem length and bar width amongst many other things. Its quite possible that with the correct sag at the rear of the bike, your forks may end up with too much or too little sag because theres more or less weight on them compared to your previous bike. This is why we don't recommend any particular pressures, because even quite subtle differences in your saddle/cockpit set up compared to anything we measure will result in different pressures being required for a given level of sag. We always recommend setting up using sag measurement as your guide, not a generic shock pressure.
How To Set Damping - Shock
Once the front and rear sags are set, adjust the rebound and compression damping to your preference. If you have specified the Cane Creek Kitsuma Air or Fox Float X2 shock, then our base setup is on the shock when it's delivered. These settings are listed below all relative to fully open position on the adjusters:
Kitsuma
- 1 x large volume spacer
- 0.5 Turns HSC (High Speed Compression)
- 3 Clicks LSC
- 0.5 Turns HSR
- 1 clicks LSR
Fox Float X2
- 1 x 0.6" volume spacer
- 1 Click HSC (High Speed Compression)
- 4 Clicks LSC
- 2 Turns HSR
- 5 clicks LSR
Follow the excellent instructions in the Cane Creek Field Tuning Guide (click here to download) for fine tuning of your Cane Creek shock.
Cotic base settings tend to run on the lively and fast rebound side of things. This might feel quite different to what you were previously used to, but do stick with it for a couple of rides before making changes. Light rebound damping let's the rear wheel 'patter' and maintain traction better. The links to the base tune for your Cane Creek shock can be found above in the Component Sizes tab.
For other shock brands:
Rebound
It is recommended to start with the rebound 3 clicks from fully open. As mentioned above, we believe that the fastest rebound you can run with safely is the best for traction and lively feel. If you feel like youre being bounced out of the saddle on big compressions, or springing back too hard off drops, or the bike feels like its bouncing back at you at high speed on rocky sections, then add more rebound damping until this sensation is eliminated.
Compression / Pedal Platform
It is recommended to start with the compression damping/pedal platform switched off (or set to minimum). The Cotic Droplink suspension is designed not to require the assistance of a compression damping circuit to give good pedalling performance. Using the minimum setting allows the suspension to move under bump forces more easily and track the ground better.
How To Set Damping Fork
As with the rear shocks, we recommend running the fork damping as light as possible for best traction.
Rebound
Set this in the middle of the range and see how it feels matched up to the rear shock. As with the rear, try riding it faster than you ordinarily would. It's amazing what a difference it makes, and it's key to getting the most out of the fast acting rear shock, because it keeps the bike in balance.
Once you have done a couple of rides, if you feel the in higher speed bumpy trails the fork is kicking back too much for your liking, or too much that you lose confidence, then increase the rebound damping. If you find the middle setting OK, trying making it faster until you get to the point of it feeling sketchy, then go back one click.
Compression
Almost regardless of size, weight or style of riding, everyone at Cotic runs the high speed compression damping on their fork fully open, or very close to it. We recommend you start with fully open and go from there. If you find you are using the full travel a little too easily for your liking, we suggest adding 1 volume reducer to your fork air spring rather than ramping up the damping.
For low speed compression damping, this is a balance between traction and helping keep the fork held up, so for this we recommend starting with it set in the middle of the range. If you are finding that the bike feels confidence inspiring, but it's a little uncomfortable or 'chattery' through your hands, try reducing the low speed compression 3 clicks. If you feel that the sag and air spring feel is what you want but you are getting a lot of diving under heavy braking, or in steep terrain, try adding 3 clicks. Keep refining like that until you are happy with the setup.
A Bit of Advice
One thing to avoid is setting the rebound based on the 'bounce in the street' test. This usually results in setting the rebound too slow for good grip in trail riding conditions, because doing the 'bounce test' with rebound set fast enough for good performance usually feels too fast in this unhelpful scenario. Only start adjusting once you have a feel on the trail.
Try It Out The Only Way You'll Know Is By Going For A Ride
We recommend starting at 18mm shock sag and going for a couple of rides to see how this feels. This is a good middle ground for tackling the trails with an active, plush feel combined with a low bottom bracket height for confident handling.
If you feel that youre catching your pedals too often, or the steering isnt as fast as youd like, or you're not getting the climbing position you want, then add more air to the shock and reduce the sag 1 or 2mm, or maybe drop the sag on your fork a few extra millimetres to move your weight forward.
It's well worth taking a couple of hours and doing laps of a trail you know well, and making changes one at a time. A good way to learn it to turn one damping dial fully closed, do a run, then go again with it fully open. You will learn what these big changes to damping do to the bike, which will help you make more subtle changes afterwards.
Take Some Notes Before Tweaking
With all the adjustments available on modern suspension its quite possible to get lost chasing a set up and ending up with a bike that doesnt handle too well. So, if youve twiddled and tweaked and the handling just seems to be getting worse, go back to your base setup.
Dont be afraid to experiment with your suspension settings and general bike setup (stem length, bar height, etc), but always have a base set up written down that you can go back to. This should include a fork travel (if the fork is adjustable) with air pressures for front suspension units. Note down how many clicks of rebound you're running. Same goes for compression damping if its adjustable on your fork.
As your experience grows, youll begin to know what certain adjustments do and how to undo them, but its a learning curve so keep your head and dont be afraid to start from scratch.
We really think you could get more out of your bike by playing around with things a little. We're always happy to help if you want advice. Just drop us a line at info@cotic.co.uk
Our service doesn't stop when you order a frame. We want to help you enjoy your new bike to its full potential.
Seatpost diameter: 31.6mm (get 380mm long minimum)
Front Mech: Not applicable - 1x drivetrains only.
Fork: Maximum 160mm travel, 573mm axle-crown (without sag)
Bottom Bracket width: 73mm
Bottom Bracket thread: Conventional English/BSA
Chainline: 52mm Shimano / 53mm Boost chainline for up to 32t round/30t oval chainring, 55mm Shimano chainline for up to 36t round/34t oval chainring
Chainguide Mounting: ISCG05 bottom 2 tabs. Integrated Cotic x OneUp Components Top Guide (included with frame or bike)
Headset: 44mm for Taper Steerer forks: Hope 2H, Cane Creek ZS44 Top/EC44 Bottom, Chris King Inset I7
Rear Hub: Boost148 x 12 bolt through
Rear Axle: Syntace X-12
Rear Mech Hanger: Syntace X-12 Type 1 (Conventional or Shimano Direct Mount)
Shock: 230 x 62.5 AIR SHOCK ONLY (60mm stroke works too)
Shock Fittings: 15.75 x M8 Down Tube End, 24.0 x M8 Seatstay End
Dropper Post Routing: Stealth via the down tube
Rear Brake Mounting: I.S. Compatible with up to 203mm diameter rotors